Powering Up My Prompt with Windows Terminal, PowerShell Core, Git, OpenSSH, Posh-Git, and Oh My Posh
I’m currently setting up a new dev environment - and since I haven’t posted anything to this space in ages - an update on how I set up my PowerShell prompt should be a decent (re)introduction to blogging.
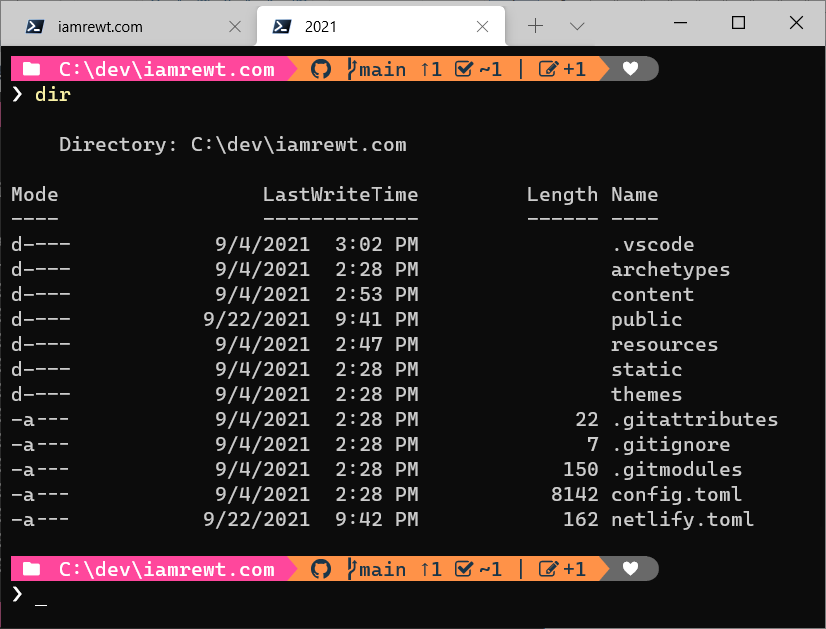
Here’s a look at my finished terminal.
Prerequisites
- Windows 10 Version 20H2 or higher
I am starting from scratch with Windows 10 Version 20H2 and little else installed. Earlier versions may work but you’ll need at least Windows 10 1903 for Windows Terminal. OpenSSH, my preferred approach for authentication with GitHub, is preinstalled with Windows 10 1809.
Install Chocolatey and Scoop
I’ll be using Chocolately and Scoop to install everything so I need to install those first. From an Administrative PowerShell prompt I run the following.
Set-ExecutionPolicy RemoteSigned -Scope CurrentUser
iex (New-Object System.Net.WebClient).DownloadString('https://community.chocolatey.org/install.ps1')
iex (New-Object System.Net.WebClient).DownloadString('https://get.scoop.sh')
Install Windows Terminal, PowerShell Core, and Git
With Chocolately I now install Windows Terminal, PowerShell Core, and Git using the same Administrative PowerShell prompt as before.
choco install powershell-core -y
choco install microsoft-windows-terminal -y
choco install git --params "/GitOnlyOnPath /NoShellIntegration" -y
Alternatively, I could have installed Windows Terminal and Git with scoop. I just went with what I am familiar with in this case. PowerShell Core is not available via Scoop at this time.
Install Posh-Git, Oh My Posh, and Cascadia Code Nerd Fonts
With Scoop I now install posh-git, Oh My Posh, and Cascadia Code Nerd Fonts. I use Scoop because Chocolatey has outdated versions of these packages (or is missing them altogether).
scoop bucket add extras
scoop install posh-git

scoop bucket add nerd-fonts
scoop install CascadiaCode-NF

scoop install https://github.com/JanDeDobbeleer/oh-my-posh/releases/latest/download/oh-my-posh.json
Configure Git
Next up is configuring git. This includes setting my global username, email, and default branch name, creating an ssh key, adding the public key to my Github account, adding the private key to the ssh agent, and instructing git to use the Open SSH client built in to Windows 10.
For the rest of the setup I use the newly installed PowerShell Core and Windows Terminal for any command line instructions.
Set Global Username, Email, and Default Branch Name
I run the following to set my global git username, email, and preferred default branch name.
git config --global user.name "Ryan Taylor"
git config --global user.email "myEmail@example.com"
git config --global init.defaultBranch main
Create an SSH Key
To create my SSH key I followed Github’s Generating a new SSH key instructions with one exception; I used PowerShell Core instead of Git Bash.
-
In PowerShell Core, run the following
ssh-keygen -t ed25519 -C "myEmail@example.com" -
Hit enter to accept the default location and filename
Generating public/private ed25519 key pair. Enter file in which to save the key (C:\Users\ryan\.ssh\id_ed25519): -
Enter a password for the ssh key (do this twice)
Enter passphrase (empty for no passphrase): [my secure password] Enter same passphrase again: [my secure password] -
I now have a private and public key in my user’s .ssh directory
Your public key has been saved in C:\Users\ryan\.ssh\id_ed25519.pub.The output also displays information about the newly created key such as the key fingerprint and the key’s randomart image (not shown above)
Add the Public Key to Github
To add my SSH key to my Github account I followed Github’s Adding a new SSH key to your GitHub account instructions, again using PowerShell Core instead of Git Bash.
-
Copy the public key to the clipboard
Get-Content ~/.ssh/id_ed25519.pub | Set-Clipboard -
Click
New SSH Key -
Enter a useful title for the title field
-
Paste the public key into the key field
-
Click “Add SSH Key”
-
Enter my password to confirm access and complete the process
Add the Private Key to the SSH Agent
Next I add my Private SSH key to the SSH Agent so I am not prompted for my password with each git fetch, pull, or push. In PowerShell Core…
-
Configure the SSH Agent to start automatically
Set-Service -Name ssh-agent -StartupType Automatic Start-Service -Name ssh-agent -
Add the private ssh key to the agent and enter your password when prompted
ssh-add (Resolve-Path ~\.ssh\id_ed25519)
Enter passphrase for C:\Users\me\.ssh\id_ed25519: ********
Tell Git Where to Find Open SSH
Because I’m using the built in ssh client rather than those that come with git bash I need to tell git where to find the ssh.exe included with Windows 10. This is done by creating a GIT_SSH environment variable containing the path to ssh.exe. Once again in PowerShell Core…
-
Create the
GIT_SSHenvironment variable$ssh = Get-Command ssh | Select-Object -ExpandProperty Source [Environment]::SetEnvironmentVariable("GIT_SSH", "$ssh", "Machine") -
Restart your terminal
Configure Posh-Git
I use posh-git primarily for the tab completion of git commands, remote names, and branch names. I’ll leave displaying git status information in the prompt to Oh My Posh. As such I only need to import posh-git into PowerShell with no further configuration.
-
Open Windows Terminal
-
Open PowerShell Core (if not the default)
-
Open my PowerShell Profile
code $PROFILE -
Add (or modify) the posh-git import statement as shown below
Import-Module ~\scoop\modules\posh-git\posh-git.psd1 -
Save changes and restart Windows Terminal
Configure Oh My Posh
Almost there! To take my terminal to the next level I need only configure Oh My Posh.
-
Set Windows Terminal default font to
"profiles": { "defaults": { "font": { "face": "CaskaydiaCove NF" } } } -
Edit PowerShell Profile
oh-my-posh --init --shell pwsh --config "$(scoop prefix oh-my-posh)\themes\gmay.omp.json" | Invoke-Expression -
Export default them to own file for later modification
Export-PoshTheme -FilePath "~/.rewt.omp.json" -Format json -
Open file for editing
code ~\.rewt.omp.json -
Edit and make it awesome
